Creating a logo for a company can be a lot of fun. Not to mention creating a whole brand for a company. It’s important to develop a brand that is repetitive across all documents and publications that it provides. Whether it be business cards, letterhead, envelopes, or websites, there needs to be consistency in the design and look of the company.
Once you have created the artwork for the different publications, there is something you can do to make the presentation look more professional. You can create what’s called a “mock-up” of your design. This post will give you a quick tutorial on how to use a mock-up template that you find online.
1. RESEARCH
First do a little Google search for “free business card mock up templates”. Search around until you find one that is free and what you are looking for. Make sure it is free for personal use (and commercial, if applicable). I found this one from graphicburger.com.
2. OPEN THE DOCUMENT
Once you download the mockup of your choice then you can get started. Open the document and there will be various layers. This one is rather simple and only has 3 layers. The top 2 layers are smart objects, which means you can double click them to go to a separate document.
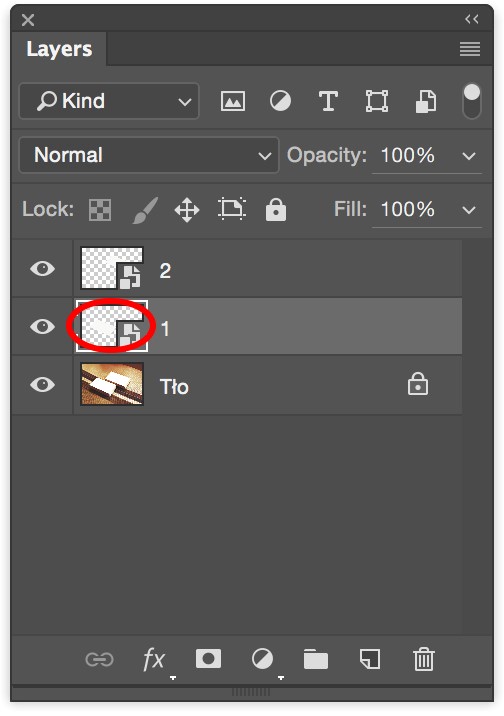
3. EDIT THE SMART OBJECT
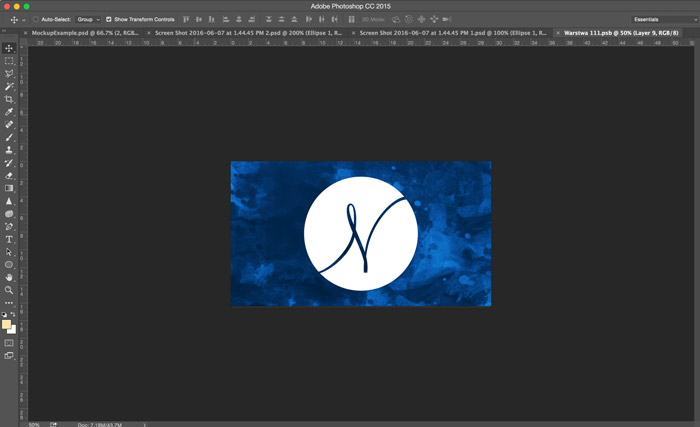
Double-click on the layer and it will open up a new document with the file extension .psb which is a smart object. This is where you can place your design.

4. SAVE THE FILE
Once you have made your design then you NEED to save the file or you won’t see the changes made in the original document.
3. GO BACK TO THE ORIGINAL DOCUMENT
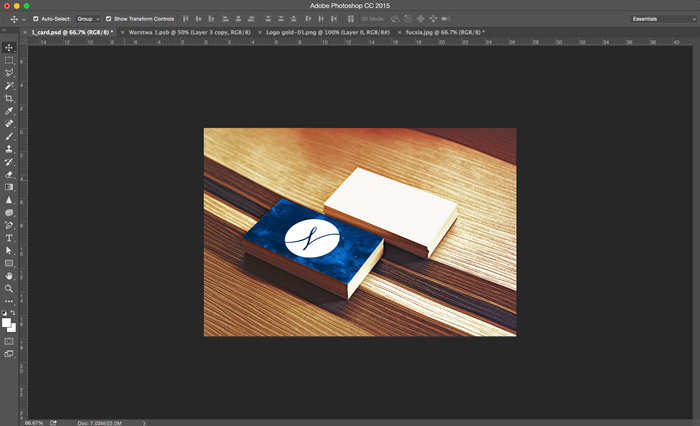
If you go back to the mockup file, you will see it populate with your new design. How cool is that?
4. REPEAT FOR OTHER SIDE
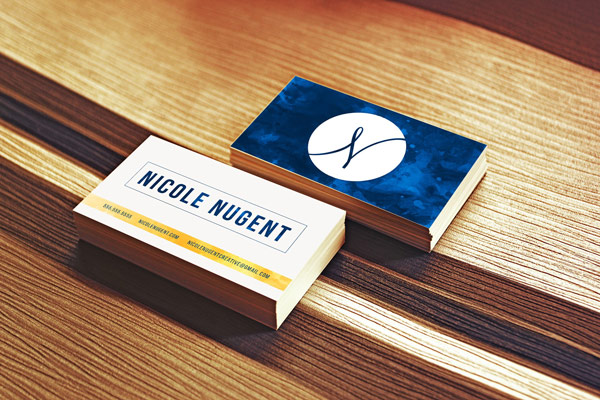
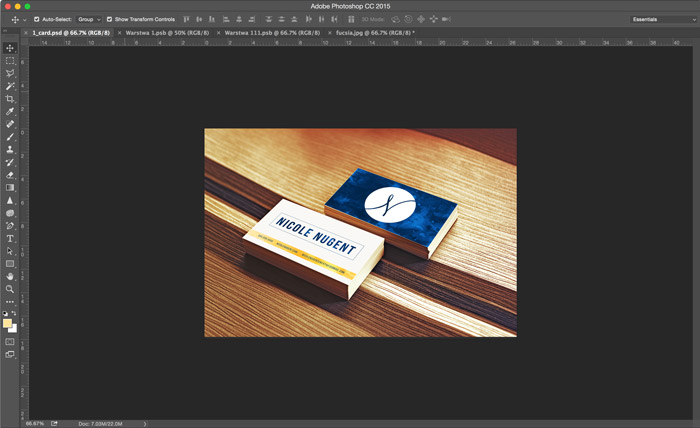
You can repeat the same thing for the other side of the business card. Just double-click on the other layer. When you’re all finished then it will look something like this. Doesn’t it look so much more professional than just displaying the designs by themselves? It helps give a feel for how the design would look if it were printed.
FINAL RESULT
